📄 Introduction
Back to Code – Let’s Deploy Our Jekyll Site with Netlify! After reflecting with Marcus Aurelius, it’s time to get hands-on again — this time with a clean Netlify deployment guide for all tech tinkerers and self-learners.
In this post, we’ll explore how to deploy a Jekyll blog site to Netlify, using the Liveblog project as our demo.
So far on Techn0tz, we’ve covered how to create a local Jekyll site and push it to GitHub Pages. Now, let’s take it a step further and host it on Netlify — a powerful platform that makes static site deployment incredibly smooth.
Now that your site is live locally and on GitHub, you might be wondering — is there a more flexible, beginner-friendly way to host it?
That’s where Netlify shines — let’s explore why it’s a great choice beyond GitHub Pages.
🔎 What is Netlify?
Netlify is a modern platform for deploying static websites. It connects to your GitHub repo, builds your project using simple commands like bundle exec jekyll build, and deploys it globally — with HTTPS and custom domain support baked in.
It’s widely used in modern JAMstack workflows and is ideal for blogs, portfolios, and even full-blown static web applications.
JAMstack stands for JavaScript, APIs, and Markup — a modern architecture where tools like Jekyll generate static content, and platforms like Netlify serve it with speed, scalability, and built-in automation.
With Netlify, you skip complex hosting setups. Instead, your blog builds itself automatically with every Git push — freeing you to focus on writing and design.
Think of Netlify as a smart deployment butler — it handles builds, serves your content lightning-fast, adds HTTPS, and offers custom domains — all with a few clicks.
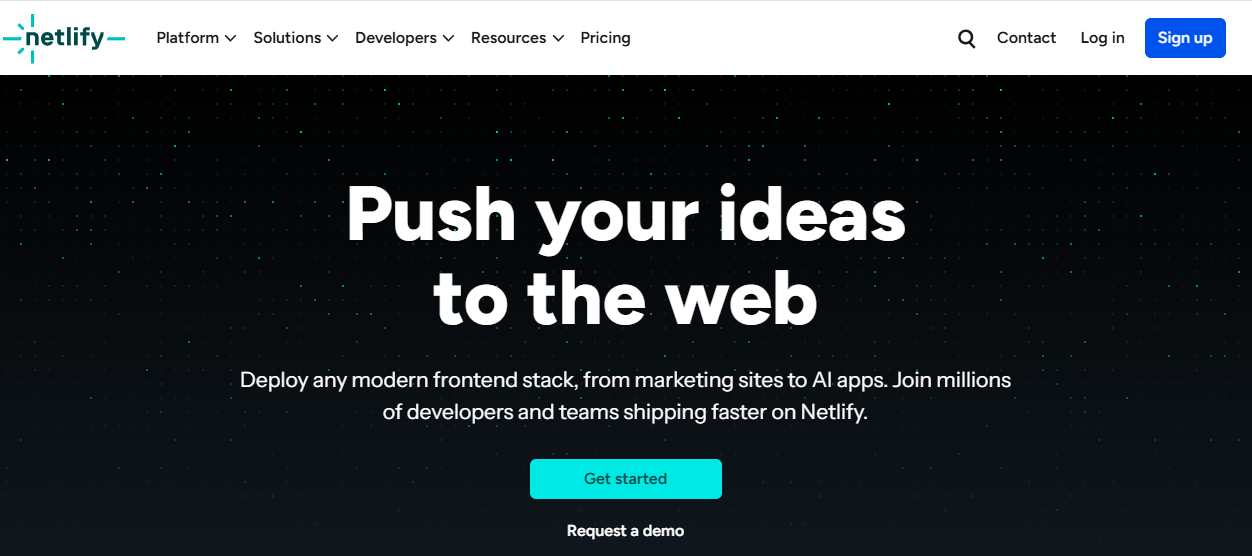
Here’s what you’ll see when you land on Netlify — clean UI, clear deploy options, and integrations at your fingertips.
Screenshot : This is the Netlify homepage, your one-stop platform for modern static site deployments.
📑 GitHub Pages vs Netlify: Which One Should You Use?
Before we dive into the steps, here’s a quick side-by-side comparison to help you decide which platform suits your needs best.
| Feature | GitHub Pages | Netlify |
|---|---|---|
| Setup Simplicity | Requires configuring GitHub repo and Jekyll manually | One-click deploy from GitHub with build automation |
| Custom Domain Support | Supported, but DNS setup is manual | Supports custom domains with guided DNS + free SSL |
| Build Automation | Limited to Jekyll (uses GitHub Actions or manual setup) | Full CI/CD pipeline built-in |
| HTTPS / SSL | Supported (via Let’s Encrypt) | Free HTTPS with automatic renewal |
| Speed & CDN | Hosted on GitHub’s infrastructure | Served through a global CDN for blazing fast loading |
| Preview Deployments | Not available | Automatic deploy previews for pull requests |
| Form Handling & Functions | Not available | Built-in support for forms, serverless functions |
| User Interface | Minimal, repo-based | Clean web dashboard for managing deployments |
In short: GitHub Pages is simple and great for pure Jekyll blogs. But Netlify adds automation, speed, HTTPS, and deployment magic — making it a favourite for modern static sites.
📋 What We’ll Cover in This Post
Perfect for beginners: No prior Netlify experience needed — we’ll walk you through everything step by step.
So if you’re ready to try Netlify, here’s what we’ll cover in this hands-on guide using our demo site — Liveblog:
- Connect your GitHub-hosted Jekyll site to Netlify
- Run
bundle exec jekyll buildand deploy the_sitefolder - Understand and configure Netlify deployment settings
- Add a custom domain and manage DNS records
- View a DNS record table with screenshot and HTML version
- Explore where HTTPS and SSL settings appear on Netlify
- We’ll also share practical screenshots along the way, so you can follow each step visually — even if you’re setting up a blog for the first time.
📝 Step-by-Step: Deploy Your Jekyll Blog to Netlify
We’ll deploy the Liveblog project using Netlify, starting from your GitHub repository and ending with a live website — complete with a custom domain setup preview.
Step 1: Prepare Your GitHub Repository and Jekyll Site
Before you can deploy your Jekyll blog to Netlify, make sure everything is working as expected:
- You’ve created a Jekyll site (e.g., Liveblog)
- It runs successfully on your local machine with:
bundle exec jekyll serve - Optionally, run this to preview the generated files:
bundle exec jekyll build - Your project is pushed to a public GitHub repository
Important: You don’t need to include the _site/ folder in your GitHub repo — Netlify will generate it during deployment. Just ensure your source files are committed (like _posts/, _layouts/, index.md, _config.yml, and Gemfile).
Need to see a complete Jekyll setup first?
Check out Jekyll Series: Part 4 - LiveBlog: A Practical Example on Techn0tz — where we created and styled the same site you’re about to deploy.
Screenshot : Running bundle exec jekyll build creates the _site/ folder that Netlify will deploy.
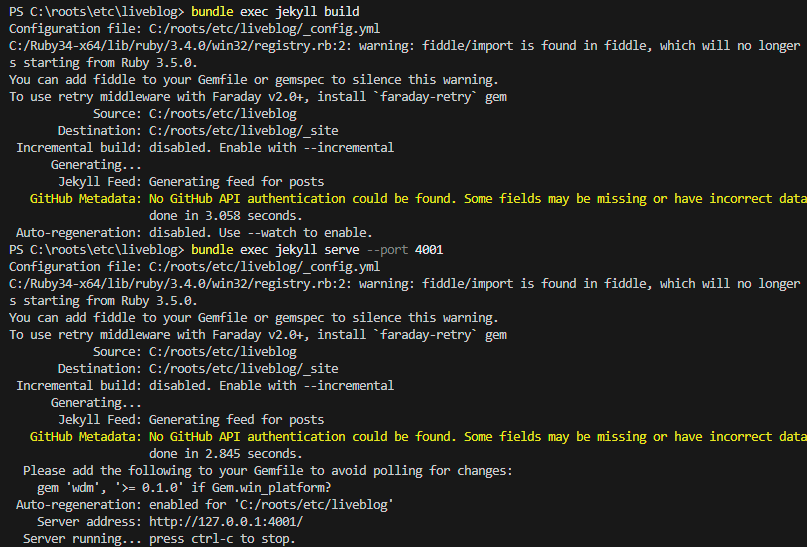
Click the image to view full size
Screenshot: Your Jekyll site running locally confirms it’s working before deployment.
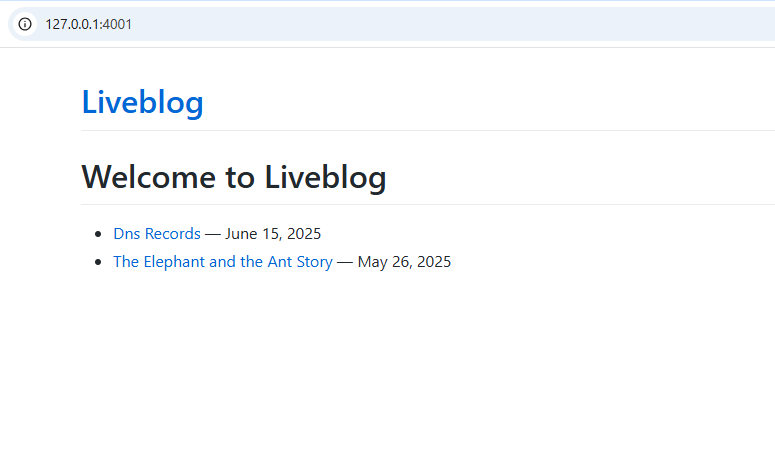
Click the image to view full size
Screenshot : Ensure the correct files are pushed and ready for Netlify(no _site/).

Click the image to view full size
Once your GitHub repo is ready and your Jekyll site builds correctly, you’re all set to move on to the actual Netlify deployment!
Step 2: Connect Your GitHub Blog to Netlify
Now that your Jekyll site is ready and pushed to GitHub, it’s time to deploy it on Netlify
1️⃣ Create a Netlify Account
- Create a Netlify Account
- Visit Netlify
- Sign up using your GitHub account (recommended for seamless integration)
Screenshot : Visit Netlify and sign up using your GitHub account for easy integration.

Click the image to view full size
2️⃣ Add a New Site from Git
- Once logged in:
- Click on “Add new site” → “Import an existing project”
- Choose GitHub as your Git provider
- Authorize access to your GitHub repositories (if prompted)
- Select your Liveblog repository (or your blog) from the list
Screenshot : Choose GitHub and connect your Liveblog repository to Netlify.
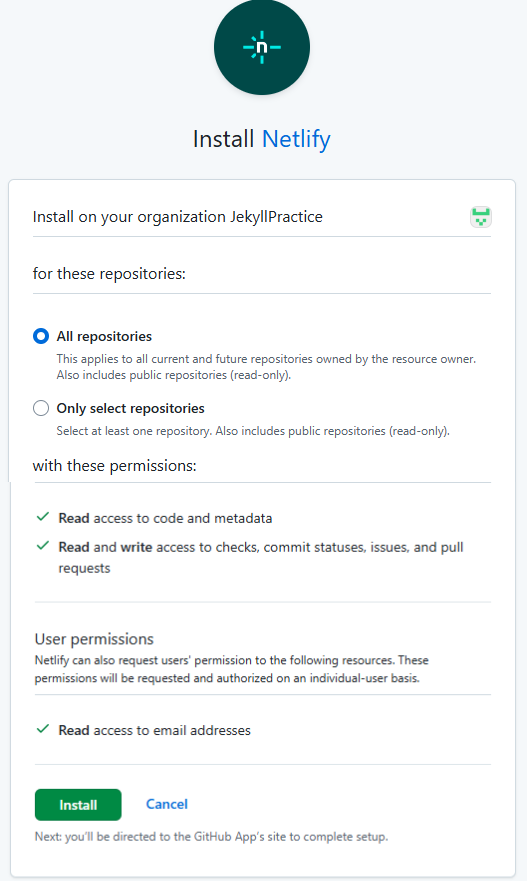
Click the image to view full size

Click the image to view full size
3️⃣ Configure the Build Settings
- When prompted for build settings:
- Build Command:
bundle exec jekyll build - Publish Directory:
_site - Optionally, add JEKYLL_ENV=production as an environment variable if you’re optimizing for production.
- Build Command:
Screenshot : Set the build command and publish directory to deploy your Jekyll blog.
Click the image to view full size
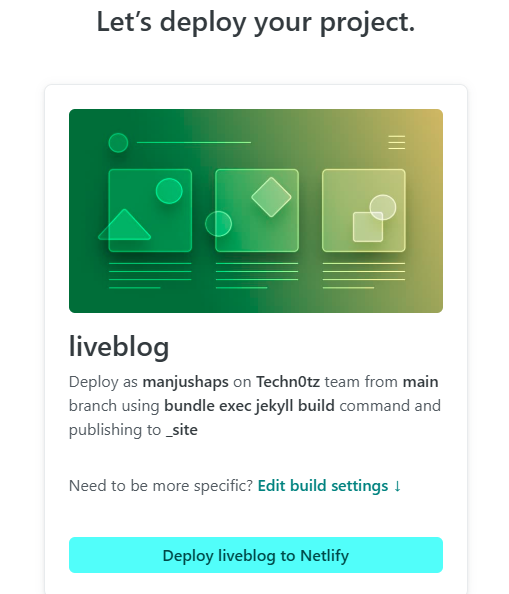
4️⃣ Deploy Your Site
Click Deploy Site and let Netlify do its magic!
Screenshot : Watch your site being built and deployed in real time.
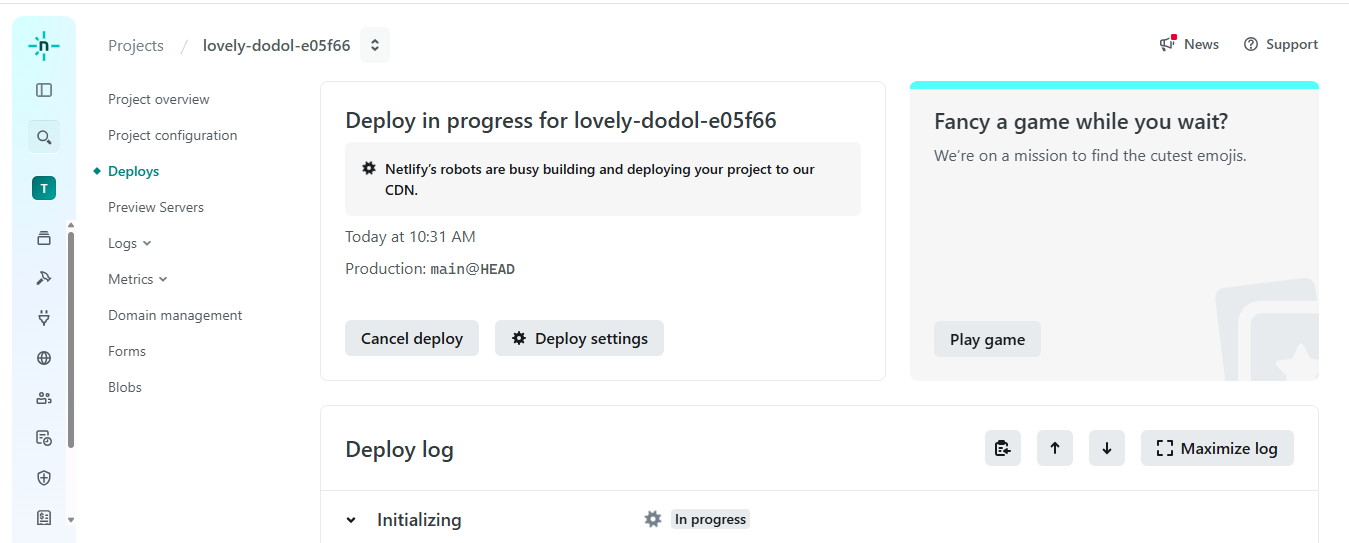
Click the image to view full size
Screenshot : Your Jekyll blog is now live — copy the Netlify-generated site URL.
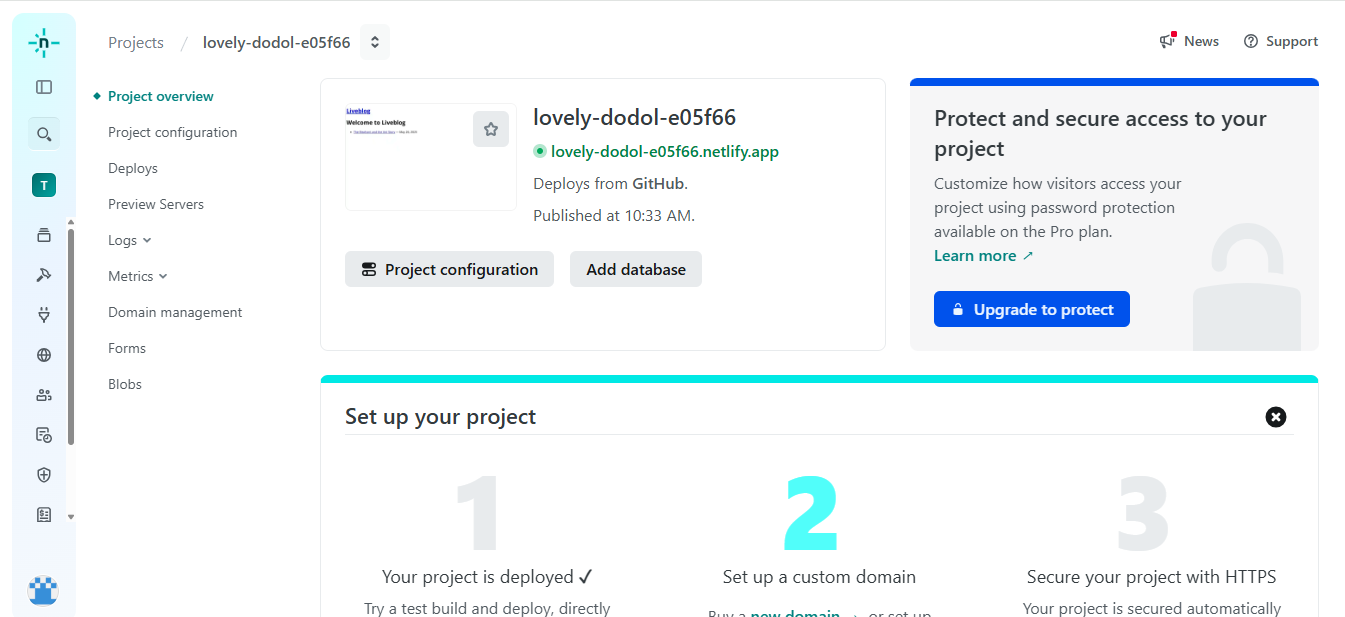
Click the image to view full size
Screenshot : Jekyll blog opened in browser using Netlify URL.
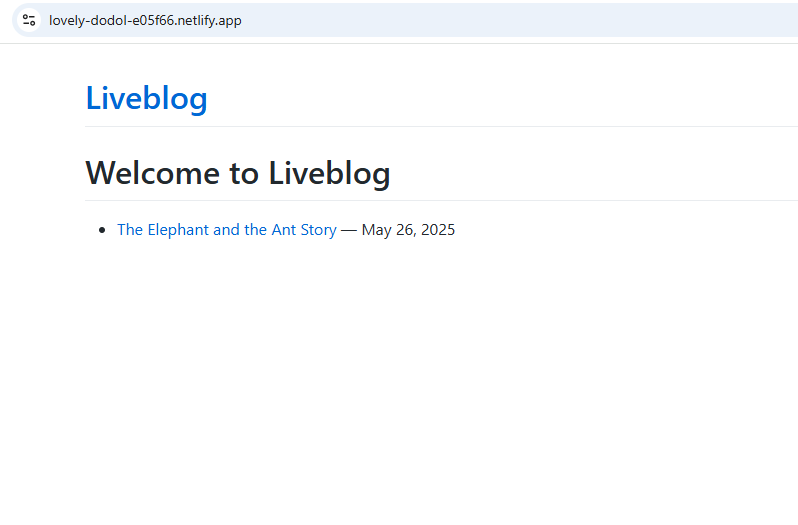
Click the image to view full size
Step 3: Set Up a Custom Domain (Optional but Recommended)
If you want your blog to live at a personal domain like www.yourname.com instead of a Netlify-generated URL, you can connect your custom domain easily.
- This step includes:
- Updating your site name (Optional)
- Adding a custom domain to Netlify
- Updating your DNS records
- Enabling HTTPS with Netlify’s free SSL certificate
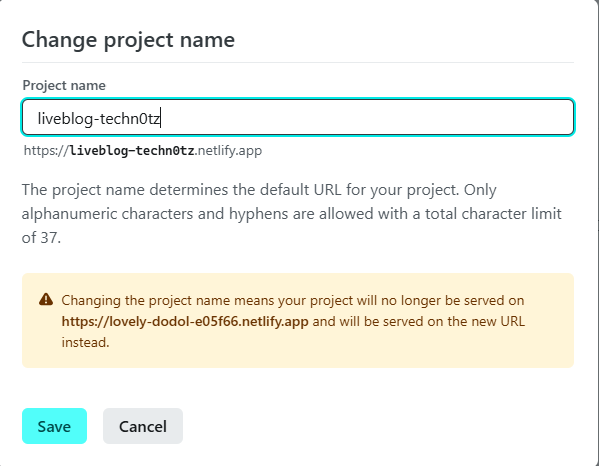
1️⃣ Update Your Site Name (Optional)
Before adding a custom domain, you can change the default Netlify site name for readability.
Screenshot : Customize your Netlify site name for easier management.
Click the image to view full size
Screenshot : Jekyll blog opened in browser with new Netlify URL.
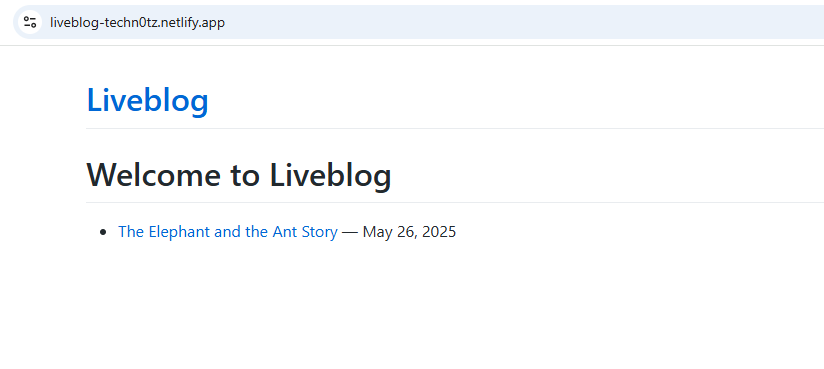
Click the image to view full size
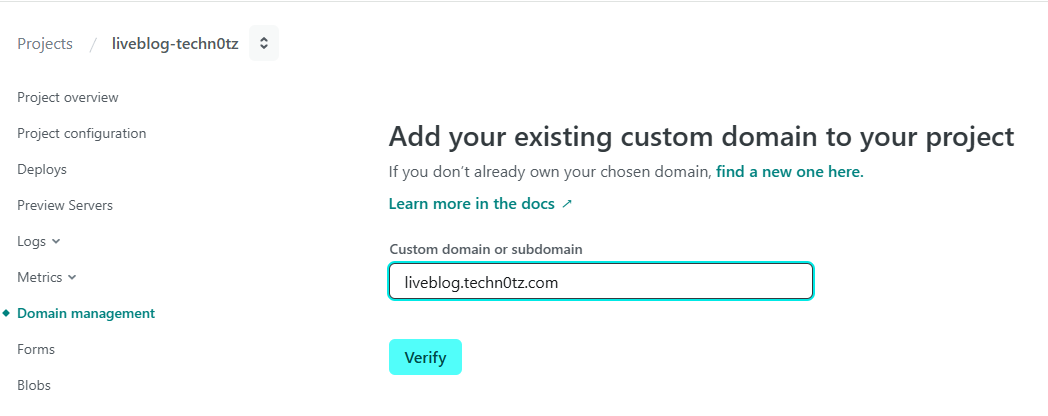
2️⃣ Add Your Custom Domain
Go to Domain Management → Add a domain.
Screenshot : Add a custom domain name to link your blog with your own domain.
Click the image to view full size
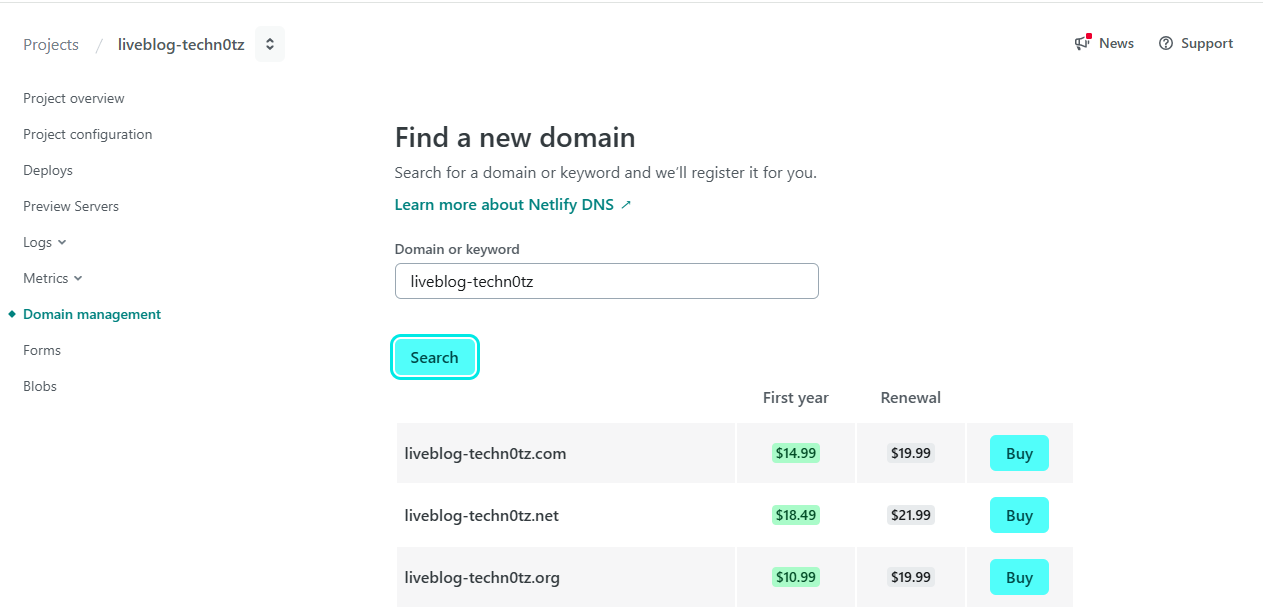
You can either connect an existing domain or buy one directly through Netlify.
Screenshot : Buy a domain directly from Netlify if you don’t already own one.
Click the image to view full size
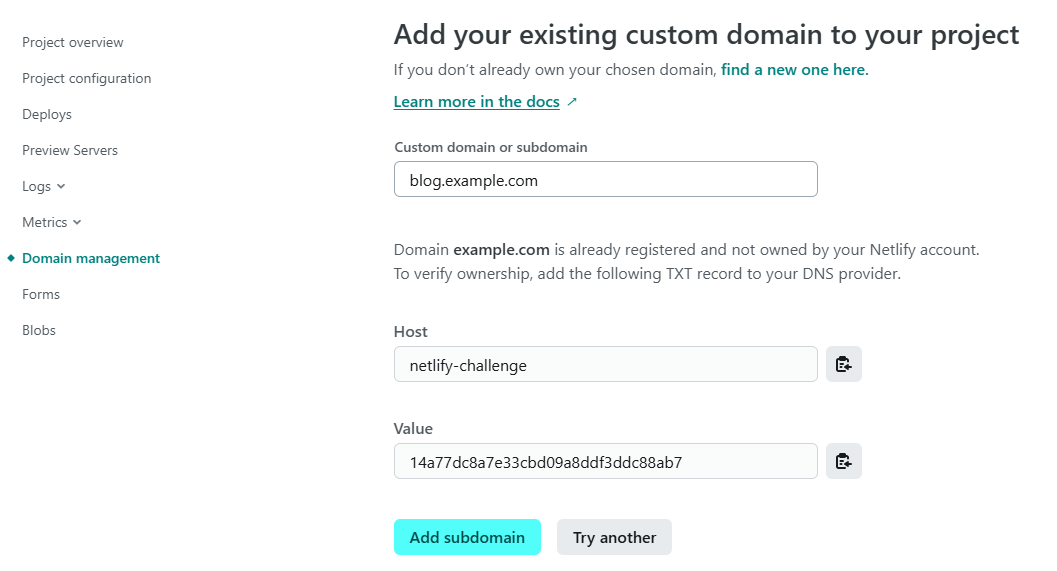
3️⃣ Configure DNS Records
After connecting your domain, Netlify will provide DNS records that need to be updated with your domain registrar.
For this demo, we’re using blog.example.com as a placeholder.
When setting up your own domain, be sure to replace it with your actual domain name (e.g., yourdomain.com or blog.yourdomain.com) in both the DNS settings and Netlify configuration.
Screenshot : DNS settings from your domain provider to point to your Netlify site.
Click the image to view full size
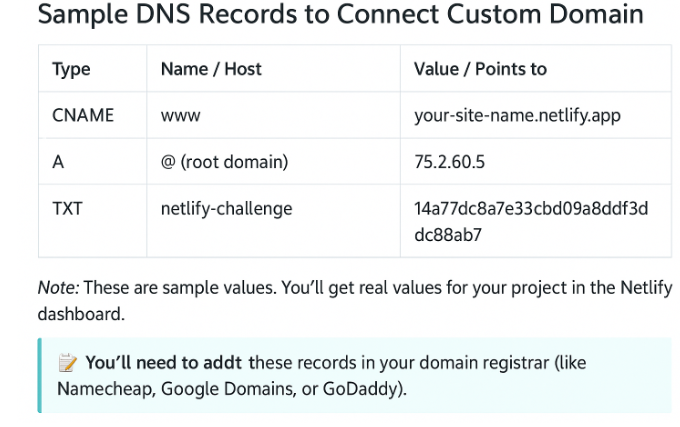
Screenshot : Sample DNS records — add these to your domain provider’s DNS panel.
Click the image to view full size
Screenshot : HTML Version If you want to manually enter these values, here’s a copyable version of the DNS table format:
Click to view HTML version
``` html| Type | Name / Host | Value / Points to |
|---|---|---|
| CNAME | www | your-site-name.netlify.app |
| A | @ | 75.2.60.5 |
| TXT | netlify-challenge | your-challenge-value |
4️⃣ Enable HTTPS (SSL Certificate)
Once DNS propagation is complete, Netlify enables HTTPS automatically.
Screenshot : Netlify auto-enables free HTTPS with Let’s Encrypt after domain is verified.

Click the image to view full size
A Note on This Demo Setup
Since we’re using a demo domain (blog.example.com), HTTPS activation and domain redirection aren’t shown live. But once your real domain is connected and DNS is verified, Netlify will automatically enable HTTPS using Let’s Encrypt.
🎉That’s it! Your Jekyll blog is now live on a custom domain with secure HTTPS — all thanks to Netlify’s powerful and beginner-friendly setup.
⚠️ Handling Common Deployment Errors
After deploying, you might run into some common issues like:
1️⃣ Styles not loading or broken layout
Why it happens:
Netlify uses your Jekyll site’s generated HTML from the _site/ folder. This usually happens when baseurl or url in _config.yml doesn’t match your Netlify domain, causing broken paths for CSS, JS, or images.
Solution: Update your _config.yml:
url: "https://your-netlify-site.netlify.app"
baseurl: ""  # Leave blank if hosted at root
Screenshot : Updating url and baseurl values to match Netlify site

Click the image to view full size
2️⃣ Clicking internal links or refreshing gives a 404
Why it happens: Static sites like Jekyll don’t handle dynamic routing by default. Netlify needs a rule to tell it how to serve the site on refresh or direct link access.
Solution:
Add this file directly to the root of your Jekyll project (not inside _site/)

_redirects
/*    /index.html   200
Screenshot : Netlify _redirects file to handle page reload and clean navigation

Click the image to view full size
Once you commit and push these fixes to GitHub, Netlify will redeploy your site automatically. Within seconds, your styles and links should work as expected.
Tip: You can always check your Netlify deploy logs from the dashboard to debug further — they’re detailed and easy to follow.
📜 Conclusion: Your Blog Is Now Live with Netlify
You’ve just deployed your Jekyll blog using Netlify — a powerful, modern platform trusted by developers worldwide. From local development to GitHub integration, DNS configuration, and HTTPS — you’ve walked through the complete deployment cycle with confidence.
Whether you’re starting a personal blog, building a portfolio, or exploring JAMstack tools, this process sets you up with a secure, scalable, and free web presence.
What’s Next?
- Customize your site’s design and layout to reflect your style
- Add your custom domain and activate HTTPS for SEO and security
- Keep publishing — the world needs your ideas and insights!
Stay Tuned for upcoming posts on 🚀Techn0tz!