📃 Introduction
To build a clean, fast, and code-friendly blog or portfolio, Jekyll is one of the most versatile tools you can use. As a powerful, Ruby-based static site generator, Jekyll seamlessly integrates with GitHub Pages, allowing you to transform plain text files—written in Markdown or Liquid templates—into fully functional websites without the complexity of databases or server-side scripting.
However, to ensure a smooth and efficient workflow, it’s crucial to set up your local Jekyll environment correctly—especially on Windows, where a few additional steps are necessary. This guide will walk you through the complete setup process, providing clear instructions and troubleshooting tips to help you get Jekyll running flawlessly on your Windows system.
📑 System Requirements and Prerequisites
Before setting up Jekyll on Windows, let’s make sure your system is prepared with the right tools and environment. This will ensure a smooth installation experience.
💻 Minimum System Requirements
- Operating System - Windows 10 or 11 (64 bit preferred)
- Admin Access - To install system-level tools
- Basic Terminal Familarity - A little command line experience
🛠️ Tools You’ll Need
| Tool | Purpose | Official Site |
|---|---|---|
| Git | Version control, terminal access | git-scm.com |
| Ruby (DevKit) | Needed to run Jekyll | rubyinstaller.org |
| Bundler | Manages Ruby gems | Comes with Ruby or via gem install |
| Jekyll | Static site generator | Installed via RubyGems |
Tip - Git Bash or Command Prompt can be used for setup. Pick whichever you’re more comfortable with
💭 Environment Used For This Guide
To ensure a clean and reproducible setup process, I used Windows Sandbox — a secure, disposable virtual environment available in Windows 10/11 Pro—for testing and capturing screenshots during installation.
This allowed me to document each step from a fresh state without interfering with my main system.
However, you can follow all the steps below directly on your regular Windows system. Using Windows Sandbox is completely optional and only used here for demonstration purposes.
📝 Step-by-Step Installation (on Windows)
Git Installation
- Download Git from https://git-scm.com
- Save the installer to your Downloads folder.
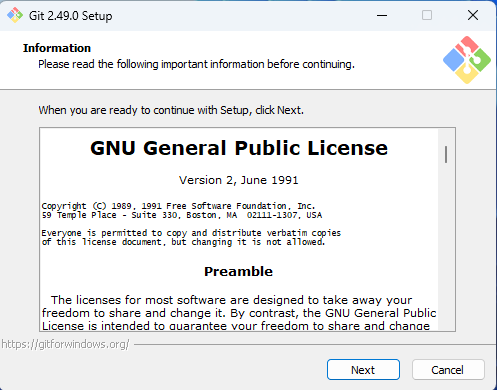
- Run Git Installer
- Double-click the downloaded .exe file to start the installation.
- You will see the welcome screen:
- Choose Installation Options
- You will be guided through several setup screens.
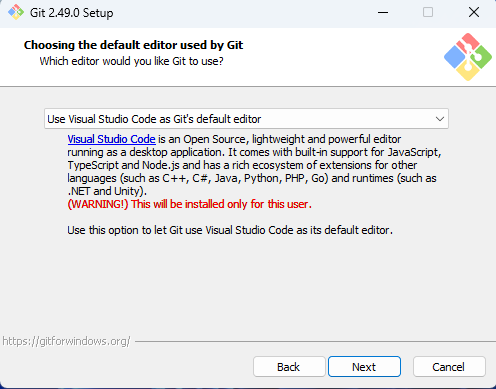
- The key options you may want to customize are:
- Default Editor: Choose your preferred text editor (e.g., Visual Studio Code)
- Adjusting PATH: Ensure “Git from the command line and 3rd-party software” is selected.
- Line Ending Conversion: Use recommended settings for Windows.
- Tip: Here are the choices I made during setup:
Tip - If you are using VS Code as editor, ensure VS Code is installed in your system and proceed with Git installation
- Installation in Progress
- Click “Install”, and the setup will begin extracting files to the specified folders.
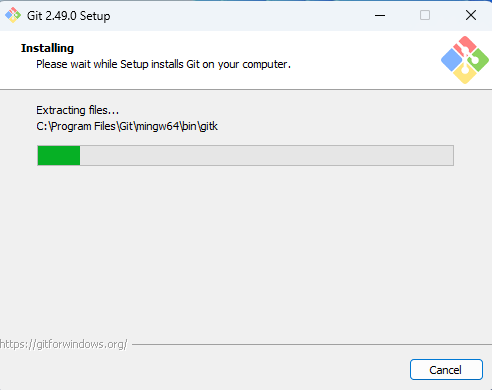
- Click “Install”, and the setup will begin extracting files to the specified folders.
- Verify Git Installation
- Once installation is complete, open Git Bash (from Start Menu or Desktop).
- Run the
git --versioncommand to verify installation
Ruby + DevKit Installation
- Download Ruby + DevKit(x64) from https://rubyinstaller.org
- When installing Ruby on Windows, choosing the version with DevKit (Development Kit) is essential.
- DevKit is a set of tools that allow Ruby to build and use gems (libraries) with native extensions (written in C/C++). This is especially important for tools like Jekyll, which rely on such gems.This DevKit is required for Windows but not for macOS or Linux.
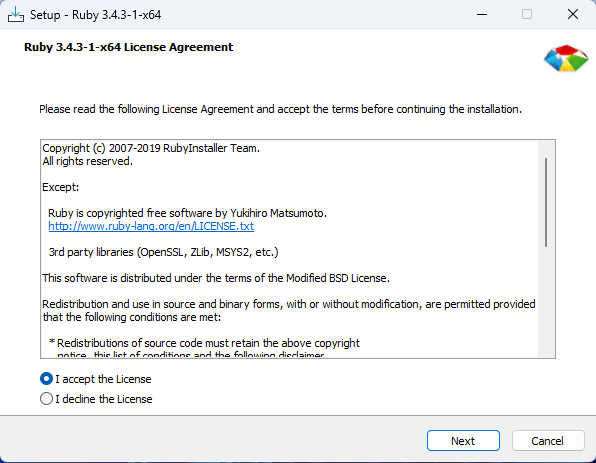
- Run Ruby + DevKit installer
- Run the downloaded .exe file to start the installation.
- This is the welcome screen of ruby
- Installation Options and DevKit Setup
- Make sure to check “Add Ruby to PATH” — this is essential for using Ruby from the command line.
- Choose the recommended installation directory for smooth setup.
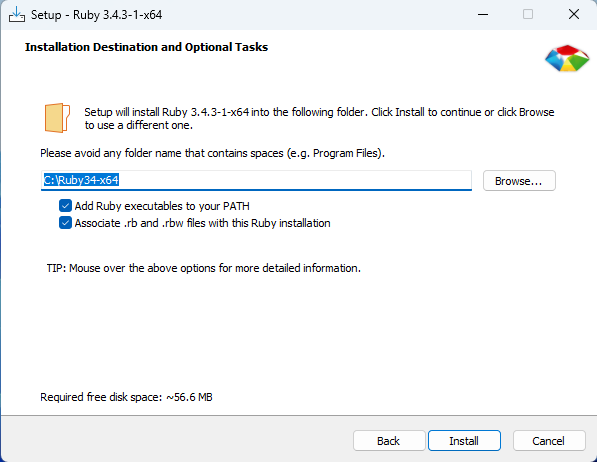
- Check the option to run ridk install, which will open a terminal
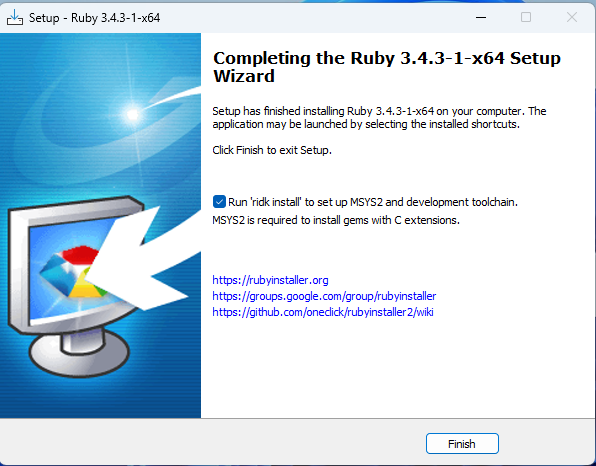
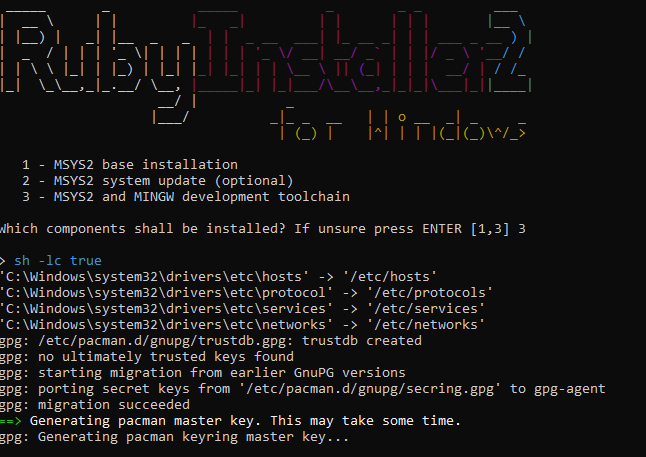
- Running ridk install - Two-Step Process
- After installation, you will be prompted with three options for setting up MSYS2.
- Choose Option 3: MSYS2 and MINGW development toolchain.
- A second set of options will appear.
- If unsure, press ENTER to continue with the recommended setup.
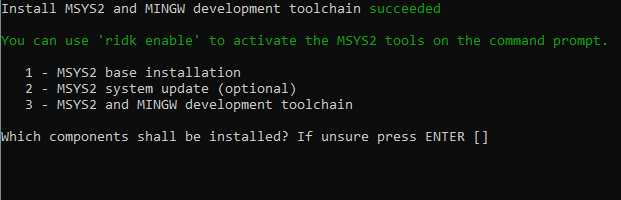
- This completes the setup of MSYS2 and the MINGW toolchain.
- Verify Ruby Installation
- Once installation is complete, open Git Bash (from Start Menu or Desktop).
- Run the
ruby -vcommand to verify installation
Bundler and Jekyll Installation
- In Command Prompt or Git Bash terminal, run
gem install bundler jekyll.- This the installation screen.
 Continues….

- This the installation screen.
- Verify bundler and jekyll installation
- Run
bundler -vandjekyll -vcommands to verify installation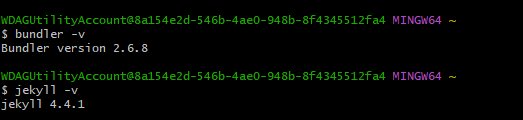
- Run
Tip: If Git, Ruby, Bundler, or Jekyll are not recognized, ensure their installation paths are correctly added to your system’s Environment Variables. Manually add them if missing, and verify with the respective version commands.
🔧 Common Jekyll issues
| Issue | Error Message | Cause | Solution |
|---|---|---|---|
| Command not recognized | 'jekyll' is not recognized |
Ruby not in PATH | Add Ruby to system PATH (Environment Variables). |
| Port conflict | Address already in use - 127.0.0.1:4000 |
Port 4000 in use | Use bundle exec jekyll serve --port 4001. |
| Blank page in browser | No content at http://127.0.0.1:4000 |
HTTPS instead of HTTP | Use http://127.0.0.1:4000/ (HTTP). |
| Ruby installer blocked | Security prompt or failure | Windows SmartScreen | Disable SmartScreen temporarily. |
| Gem installation fails | Could not find a valid gem 'jekyll' |
Missing/Outdated Bundler | Run gem install bundler and gem update --system. |
📄 Conclusion
You have successfully set up your local environment for Jekyll on Windows, with Git, Ruby, Bundler, and Jekyll installed and verified. This foundational setup ensures you are ready to build, customize, and launch your own static site with confidence. In the next post, you’ll learn how to create, run, and manage a Jekyll site locally—transforming your installation into a fully functional website.
Stay tuned to 🚀Techn0tz for the next step in your Jekyll journey.